Installing Windows Server 2012
In this new article, we will learn how to install Windows Server 2012 step by step at first, then in a second step we will see how to install the Active Directory role.
First, look at the minimum necessary for the proper functioning of Windows Server 2012.
Processor: Minimum: 1.4GHz64-bit
RAM: Minimum: 1 GB
Disk Space: Minimum: 32GB
For more information, go directly to the Microsoft website.
1: We start by booting the installation CD:
 2: Then choose our language and the type of keyboard you have:

3: You click on Install now:
 4: The installation is prepared:
 5: Then choose which version to install. The Server Core version is no GUI and less roles / features version available. In our case we choose a system with graphical user interface (GUI):

6: We accept the terms and conditions:

7: we can choose to do a custom installation:
 8: We select the disk on which we want to install Windows Server2012 RC:
 9: The installation starts:
 10: Once the installation is complete, the computer restarts after10 seconds:
 11: We wait for the continuation of the installation:
.jpg) 12: then prepares to install the drivers:
12: then prepares to install the drivers:
.jpg) 13: The installation continues:
13: The installation continues:
.jpg) 14: After the drivers are installed, the server reboots:
14: After the drivers are installed, the server reboots:
 15: Once the server is restarted, it will be the first release of Windows. We must therefore define a password for the Administrator account:

16: Once the password is set, we need to connect us. CTRL+ALT+ DEL will be on all versions of Windows; you see a dialog box to connect.

17: Learn here the password reset just before:

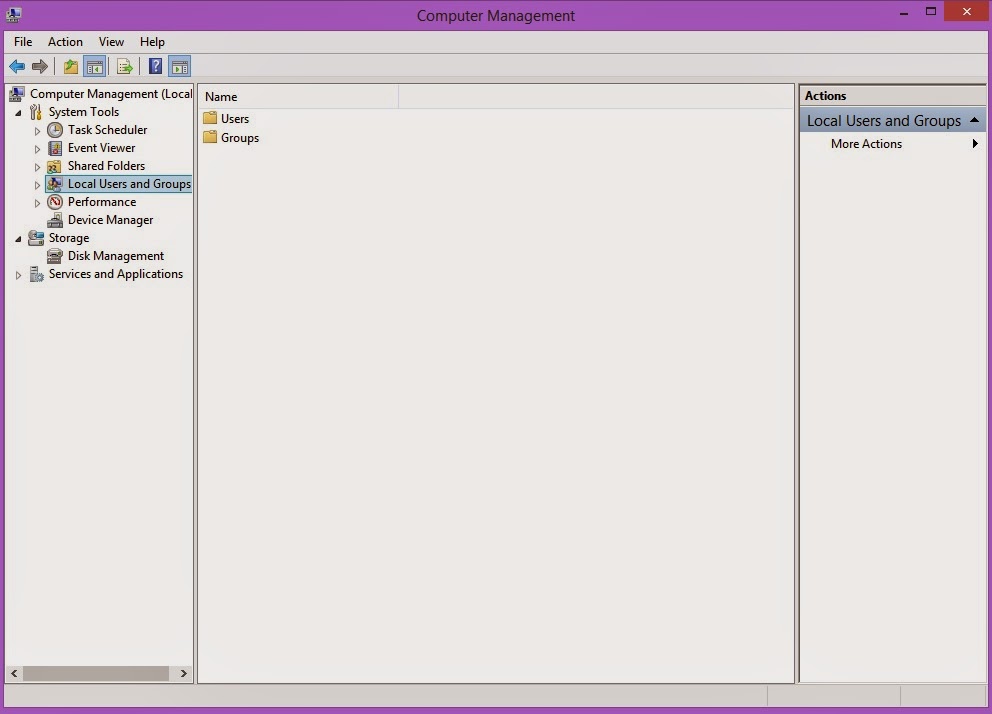
18: If you arrive on the next page is that you are connected to your server. You come here on one of the big new in Windows Server 2012, the Server Manager (Server Manager). It is here that you will administer much of your server (roles, features, etc ...).

Thank you for reading this tutorial.
In this new article, we will learn how to install Windows Server 2012 step by step at first, then in a second step we will see how to install the Active Directory role.
First, look at the minimum necessary for the proper functioning of Windows Server 2012.
Processor: Minimum: 1.4GHz64-bit
RAM: Minimum: 1 GB
Disk Space: Minimum: 32GB
For more information, go directly to the Microsoft website.
1: We start by booting the installation CD:
3: You click on Install now:
6: We accept the terms and conditions:
7: we can choose to do a custom installation:
17: Learn here the password reset just before:
Thank you for reading this tutorial.